Lithophane lamp


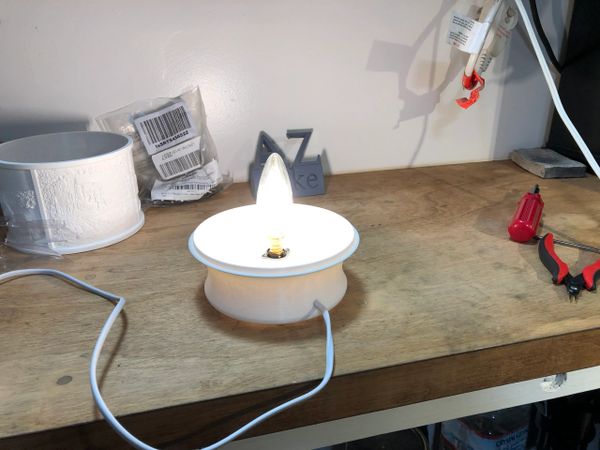
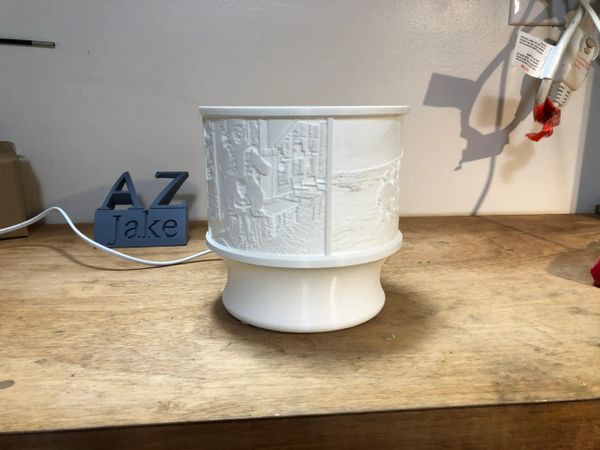
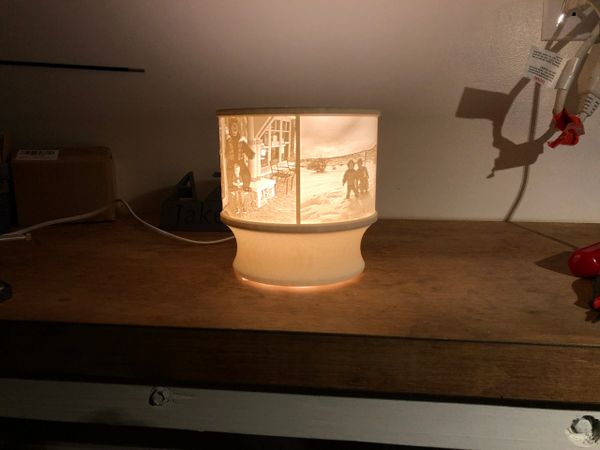
I wanted to make some lithophane lamps for Christmas presents, but could not find a lamp or base that suited me so I designed this one. At the heart of this is the free lithophane maker found at https://lithophanemaker.com/Lamp%20Lithophane.html . It converts 4 of your photos into a lampshade with your given parameters. Mine are all printed in HatchBox White PLA and with any PLA you need to ensure only LED lights are used so the heat generation is minimal. Here are the steps to creating a one of a kind lamp as well as the parts used. As always the downloadable files are at the bottom of page as well as Amazon links to purchase. See it on Thingiverse!
Instructions
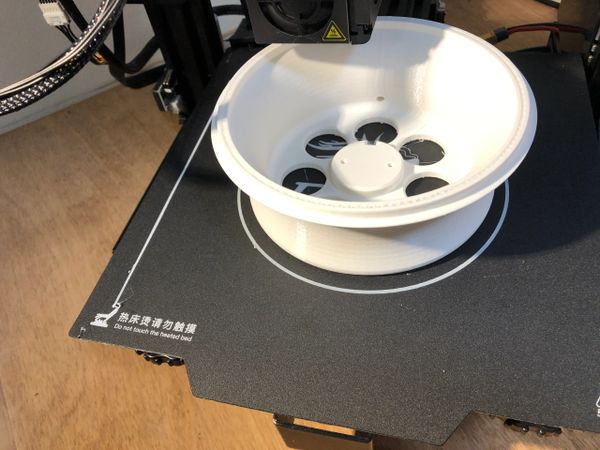
Print your lampshade
- Pick out 4 of your favorite photos. I used photos taken from various iPhones, none of which are newer than an iPhone 8. Use 4 photos that are either portrait or landscape or crop them to be similar in height.
- Head to https://lithophanemaker.com/Lamp%20Lithophane.html and modify the settings with mine found in photo at right or .docx file below. Upload your photos. You can play with the Height control by Forcing Height to adjust the way your photos appear or if the cropping looks off.
- Create STL with buttton on bottom of page. If you create a free account it will save your settings for next time you need another shade.
- Slice your STL with your proven lithophane settings and print. I have always used HatchBox White PLA and know it produces good results. Mine took 50-70 hours to print with a .1MM layer height and 25mm/s speed. Before these long prints I typically replace the brass nozzle, they are cheap.

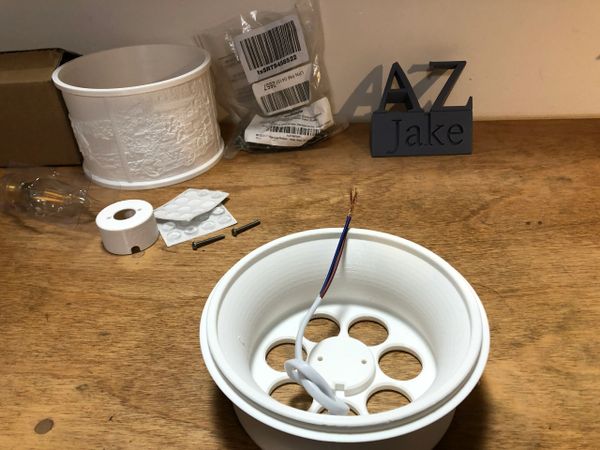
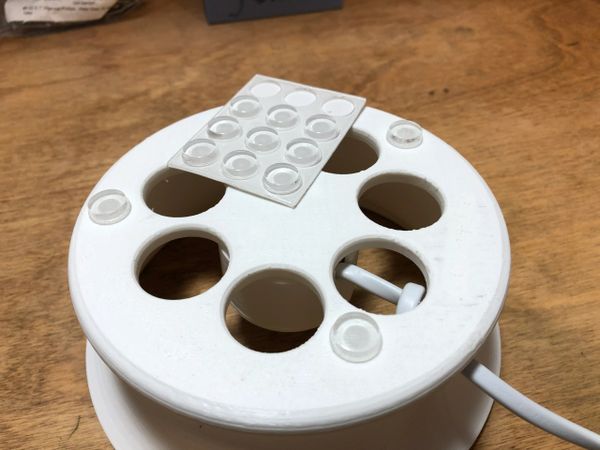
Print Base
Using the Lithophane Base STL below slice and print the base. I again used White HatchBox PLA so the base would match the print, I want to try some stain-able wood PLA on this base but have not had time yet. I printed at .16MM line height and 15% infill with a lines pattern on the infill, It is best printed with the bottom on the bed and no supports are needed. I do "user specify" the z seam to directly above the electrical cord hole in the base. Since there are no corners in this print it looks cleanest with the seam in the back of the lamp. These take me about 18 hours to print.

Lithophane Base
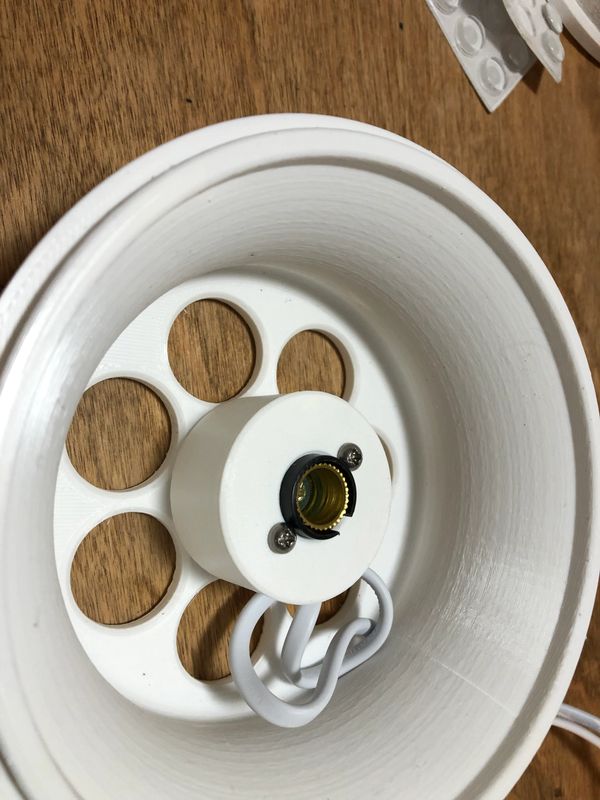
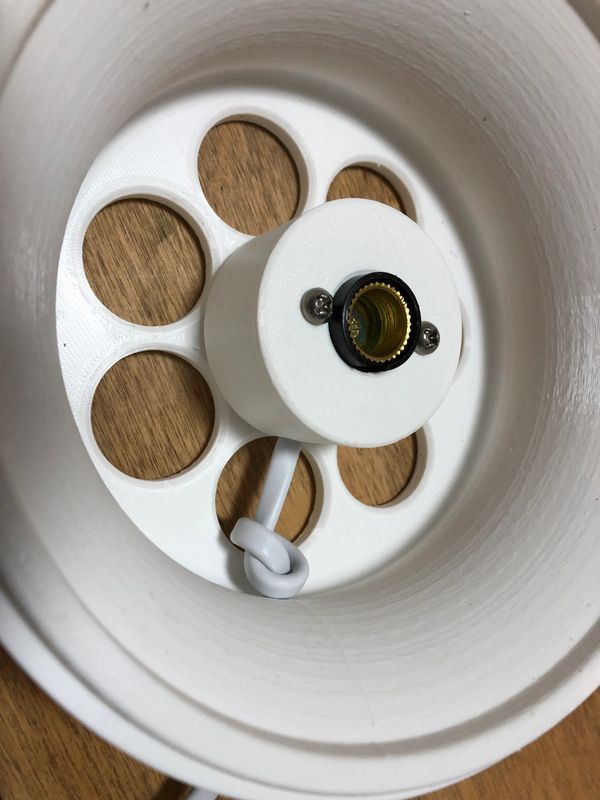
Print electrical cap
This cap is needed to cover the electrical connections and provides a clean finished look to the inside of the lamp. I printed this with the closed end down, again no supports needed.

Electrical Cap
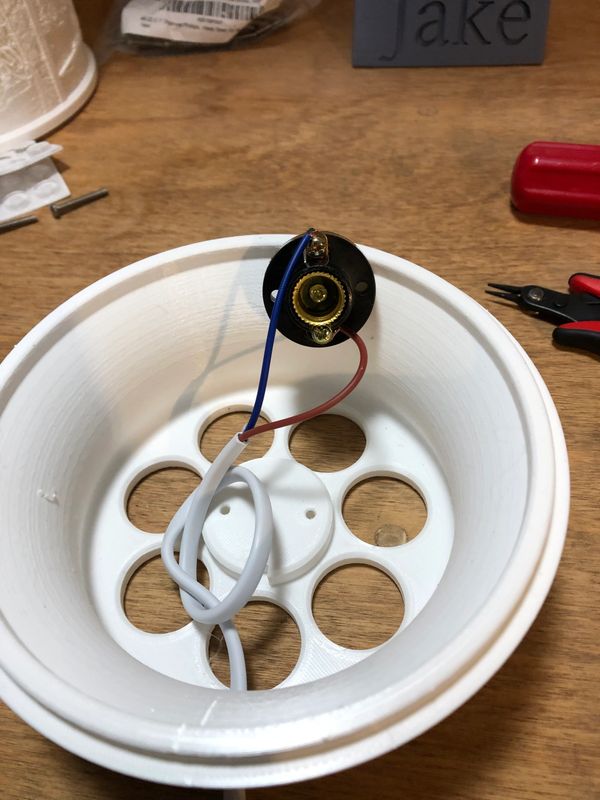
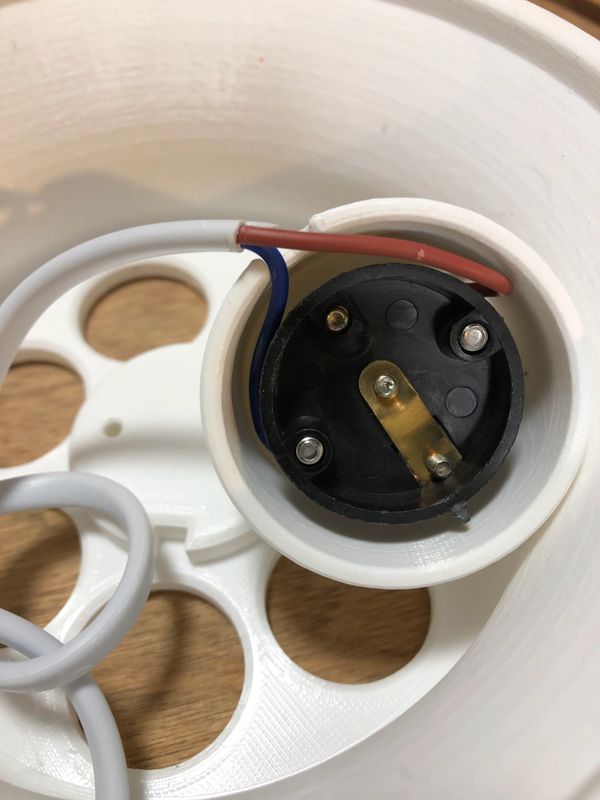
assembly photos